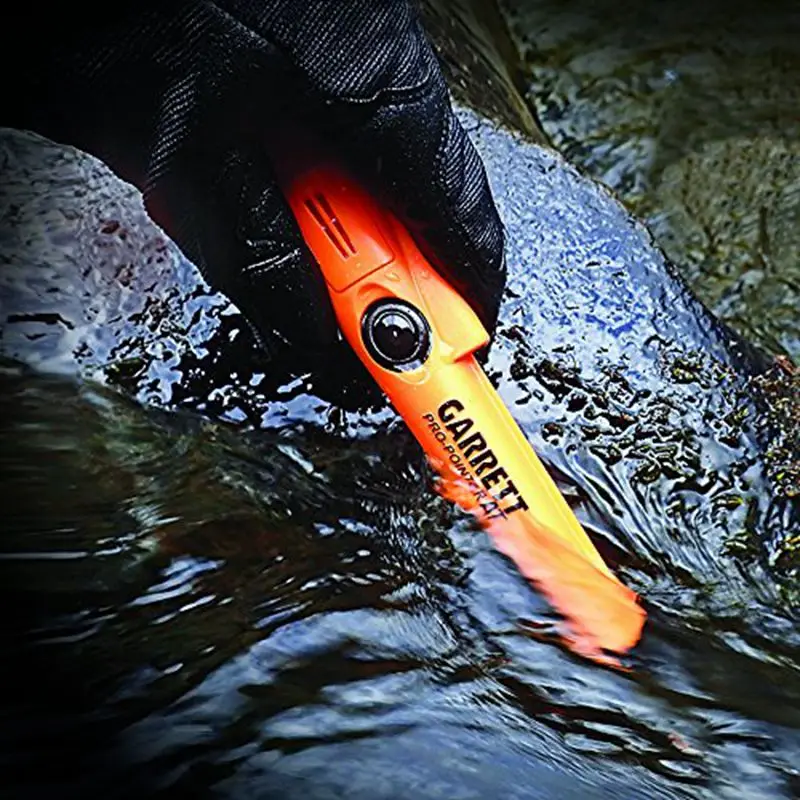
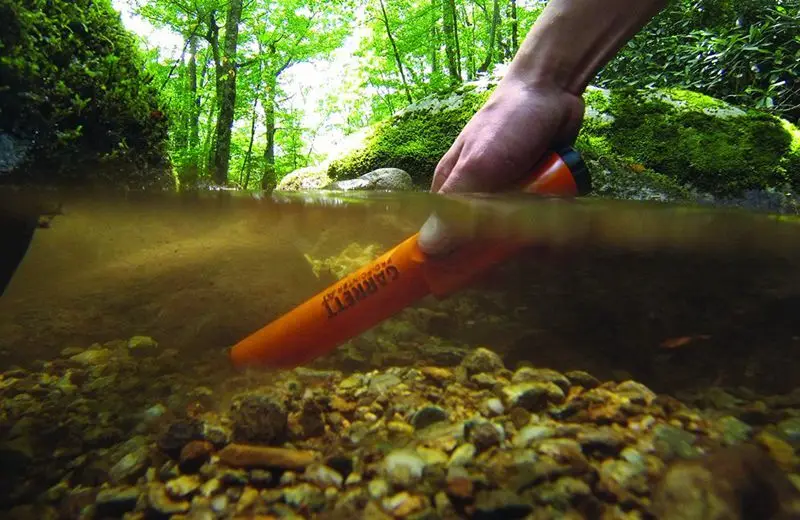
IP68 Waterproof Pro Pointer Metal detector Professional Handheld pinpointer
-

Powering On
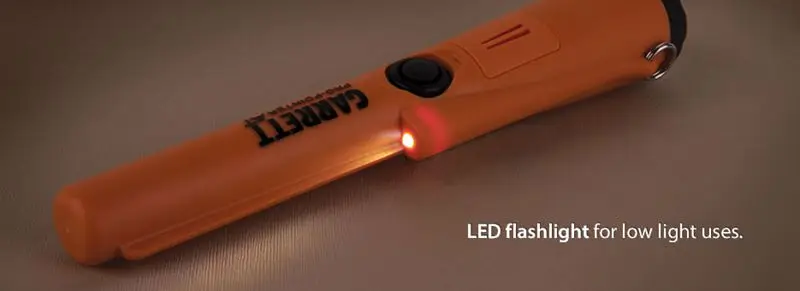
* Keep Gold Hunter away from any metallic objects. Press 1 second and release the button,you will hear 2 beeps and the LED will light on, indicating power on.
< LED light can be turn off if you no need, press the button for 2 seconds >
Powering Off
Press and hold the button for a second until you hear a single beep (or single vibration in Silent Mode), indicating power down.
Changing Settings
The Pro-Pointer AT has three sensitivity settings and two detection settings:Audio-plus-Vibrate or Vibrate-only (silent).
To enter adjustment mode, press and hold the button for 2 seconds-indicated by single beep followed by a dual-tone beep and flashing LED. (Note: In Silent Mode, keeps are replaced by vibration pulses.)
The first button press after entering adjustment mode indicates the current setting.Repeatedly press the button tocycle through the 6 settings:
1 beep = minimum Sensitivity, with audio
2 beeps = medium Sensitivity, with audio (Default setting)
3 beeps = maximum Sensitivity, with audio
1 vibrate = minimum Sensitivity/Silent
2 vibrate = medium Sensitivity/Silent
3 vibrate = maximum Sensitivity/SilentTo exit adjustment mode, press and hold the button for 2 seconds—
indicated by a dual-tone beep (dual vibrate in Silent Mode), or wait 5 seconds
for automatic exit.Precisely Pinpointing Large Targets
Slowly scan toward the object until the response increases to full/constant alarm. Then quick-press the button to instantly retune and narrow the detection field. Continue scanning toward the object to find its precise location. Repeat this Fast Retune to further narrow detection field as needed.
Auto-Off Feature
After 2 minutes of being ON without a button press, the Gold Hunter will begin warning chirps for 60 seconds, and then will power off automatically.
Scraping Blade
This rugged edge is ideal for sifting through dirt while searching for the target. The Gold Hunter’s 360º-side-scan detection allows the detector to alarm when the blade is passed in close proximity to a metallic target.
Lanyard Attachment Clip
Use to attach the Gold Hunter to your belt, digging pouch or your detector (if desired).
Holster
Secure to any standard size belt. A metal snap within the holster will cause the Gold Hunter to alarm if put away while powered on.
Low Battery Alarm
When the battery becomes low, the LED will keep flashing.Replace the 9V battery as soon as possible.
Battery Replacement
Simply rotate the battery cover counterclockwise to remove and clockwise to tighten by hand. To properly install the 9V battery, match the larger battery terminal to the larger opening in the compartment. Remove the battery when the unit is to be stored more than 30 days.
Packing List:
Note:Battery & Charger are not included, please buy 9V battery in your local shop.What's in the box(battery not include)?1 * Waterproof pro pointer at
1 * Woven belt holster
1 * English manual
1 * package
1* bracklet


